
Panoramic photography allows you to capture the beauty of landscapes in ways that a single shot cannot. With this technique, you can easily combine multiple images into one impressive frame with a wide field of view. Although it may seem like it requires complicated equipment, with the right knowledge and practice, the results can be truly spectacular. In this article, you will learn how to prepare for panoramic photography and how to effectively stitch images together.
Choosing the Right Equipment
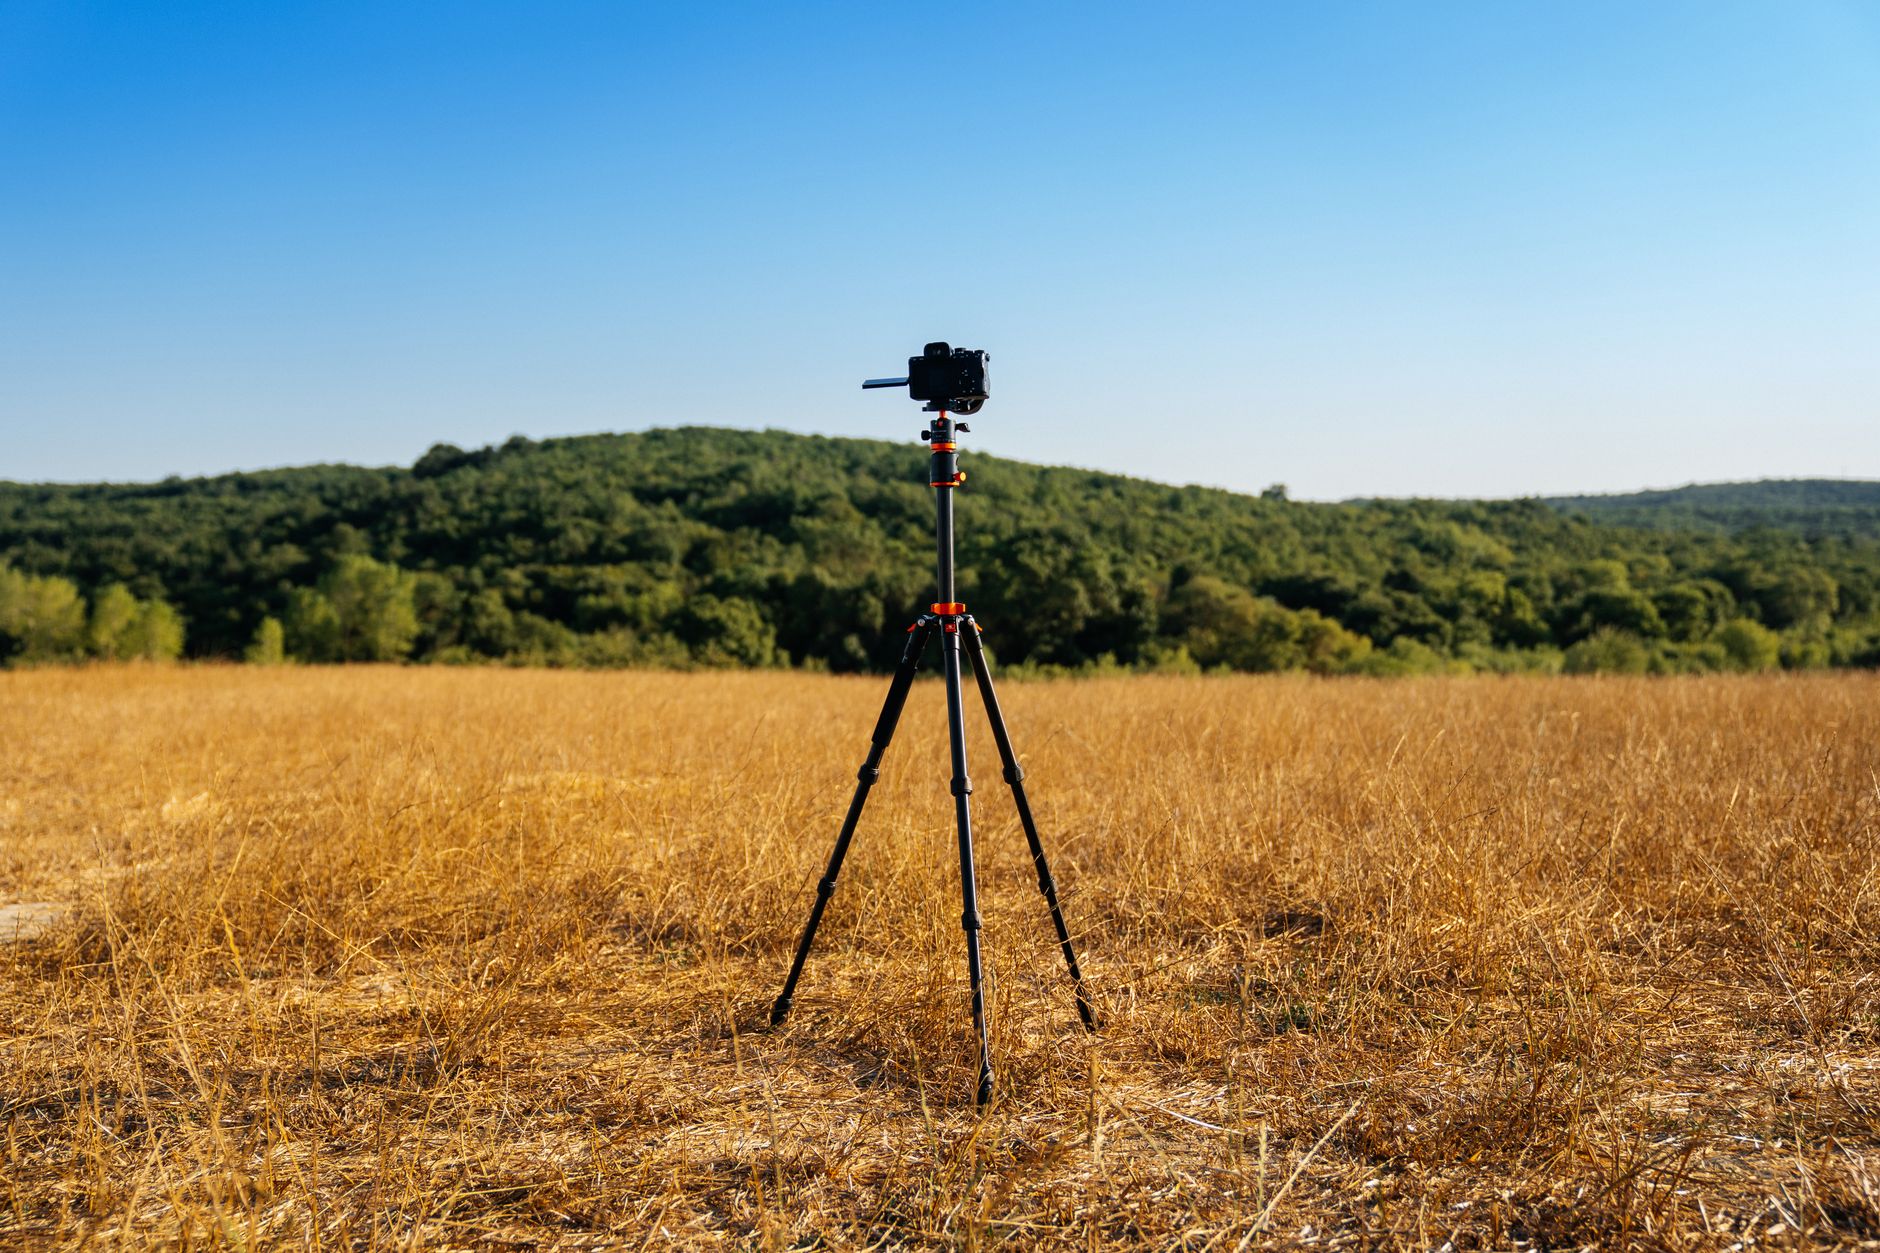
To achieve the best results in panoramic photography, selecting the appropriate equipment is crucial. A tripod with a level is essential as it provides stability and equal angles. A panoramic head is also useful for adjusting the nodal point for close objects. If you have a 35mm lens, it’s a good choice as it allows for highly detailed images. It's also worth investing in a solid camera body, like a mid-range DSLR or mirrorless camera.
How to Take Panoramic Shots
The key to a successful panorama lies in a series of well-executed shots. Remember to shoot in manual mode (M) — this ensures that each photograph has identical exposure, white balance, and sharpness. Using RAW formats allows for greater flexibility in post-production. It's important that each photo has a 30% overlap, which will greatly facilitate later stitching. Avoid areas with high dynamics, as large exposure differences can lead to merging issues.
Preparing to Stitch Photos
Before you begin stitching photos, prepare all images in an editing program like Lightroom. By correctly setting preliminary parameters such as white balance and lens correction, you simplify your later work. It is vital to check that the photos are in the correct order and that they maintain the aforementioned overlap. Be sure to analyze frames for any moving elements, such as people or vehicles, to avoid ghosting effects.
Stitching Photos in Lightroom
Lightroom offers a straightforward way to merge photos into a panorama. Select all relevant shots, then go to the Photo → Photo Merge → Panorama option. Here you have several projection options to choose from: Spherical for moving scenes, Cylindrical for wide landscapes, and Perspective for architecture. Use Auto Crop to remove empty edges and Boundary Warp to retain as many pixels as possible without distortion.
Alternative Stitching Programs
If you need more advanced tools, PTGui and Hugin are excellent alternatives to Lightroom. PTGui, though paid, offers extremely precise alignment and special features useful for 360° photos. Hugin, as a free open-source solution, is perfect for amateurs. It’s also worth considering using Photoshop and its Photomerge function, especially if you are working on more standard landscapes.
Common Mistakes and How to Avoid Them
One of the most common mistakes is improper white balance adjustment, which results in bands in the final stitching. It is also common to forget about adequate overlaps between frames, leading to empty areas in the panorama. Avoid having moving objects on the stitching lines to prevent unwanted ghost effects. Always check all these elements during the shooting phase.

Processing the Final Image
After the stitching process is complete, it’s best to save the resulting image as a TIFF or PSD, as this facilitates further editing in Lightroom. In such formats, you have better control over colors and details without losing quality. It’s also worth investing time in detailed editing, removing imperfections, and enhancing contrast and saturation. The final panoramic print can achieve up to 80-100 MPix, ensuring high-quality details.
Practical Tips for Beginners
Always plan your shooting session in advance — knowing the location and weather conditions is half the battle. Photograph during the golden hour to capture soft light that adds drama to panoramic frames. Consider using sun and shadow planning apps to aid your preparations. Practice makes perfect, so regularly test different settings and compositions to quickly improve your photography skills.
How Picvelo Can Help
With Picvelo, you can easily share your panoramic works with clients in interactive galleries. Our platform allows for selling prints and adding watermarks for copyright protection. Learn more about our options in the pricing section.
Summary
Panoramic photography is a fascinating way to capture spectacular landscapes. With the right equipment and technique, you can create stunning images. Try the tips in this article and start producing pictures that will amaze everyone. For easier photo management, visit our homepage.
FAQ
How to choose the right lens for panoramas?
The best choice for panoramas is a lens with a medium focal length, such as 35mm. It provides high image quality and great detail. Wide-angle lenses are not recommended as they can introduce distortions.
Can you create panoramas without a tripod?
Theoretically yes, but a tripod greatly simplifies the process by providing stability and evenly spaced shots. Without a tripod, you risk uneven horizons and difficulties merging images.
Which program to choose for stitching panoramas?
Lightroom is a popular choice due to its ease of use. PTGui offers advanced features, and Hugin is a good free alternative. Photoshop also effectively stitches standard landscapes.
What are the most common mistakes in panoramas?
Common mistakes include uneven white balance, insufficient overlap between shots, and moving elements in the frame. All these issues can be minimized with proper planning.
How long does it take to stitch a panorama?
Stitching 8 shots in Lightroom usually takes about 1-2 minutes, depending on the computer's processing power. Time may extend in programs like PTGui with large 360° projects.
What formats should be chosen for saving panoramas?
TIFF and PSD are the best formats for saving panoramas, providing high quality control and detail. They are ideal for further editing in programs such as Lightroom.