
Interior and real estate photography is a specialized field that requires not only the right skills but also dedicated equipment. Glass vases, standing lamps, and elaborate curtains are just some elements that can enhance compositions. If you're wondering how to capture an interior in a way that truly delights viewers and aids in selling the property, you’re in the right place.
In this article, you’ll find tried and tested tips on equipment and techniques for photographing that will make your interior shots stand out. Whether you’re a beginner or already engaged in real estate photography, these tips can significantly elevate the quality of your work and impact the speed of property sales.
Choosing the Right Equipment
To choose the right gear for interior photography, it's best to start with a wide-angle lens. Lenses with focal lengths from 14 to 24 mm allow you to capture a larger portion of the room, which is crucial for showcasing spaciousness. For a standard room, an ideal selection would be within the 16 to 20 mm range. A leveling tripod helps maintain vertical walls, while a compact flash effectively lights the room. A smartphone remote is also indispensable for remotely triggering the shutter, minimizing the risk of camera shake.
Proper Photography Techniques
When photographing interiors, it’s essential to maintain the right camera height—ideally between 120-130 cm. This helps achieve a natural perspective. Keep the walls vertical with proper leveling of the tripod. The composition should include 1-2 walls for greater depth rather than showing all three. Daylight combined with a lamp reflecting off the ceiling best highlights the interior. Use the exposure blending technique, which combines several shots with different lighting, to achieve the ideal balance between the brightness of the windows and the interior.
Kitchen Photography
The kitchen is one of the most important rooms influencing buying decisions. When photographing, turn on all available light sources, making the room appear brighter and more inviting. Open windows to showcase the outside view and ensure the kitchen is free from clutter. Every element should be carefully styled to demonstrate the functionality and aesthetics of the space.

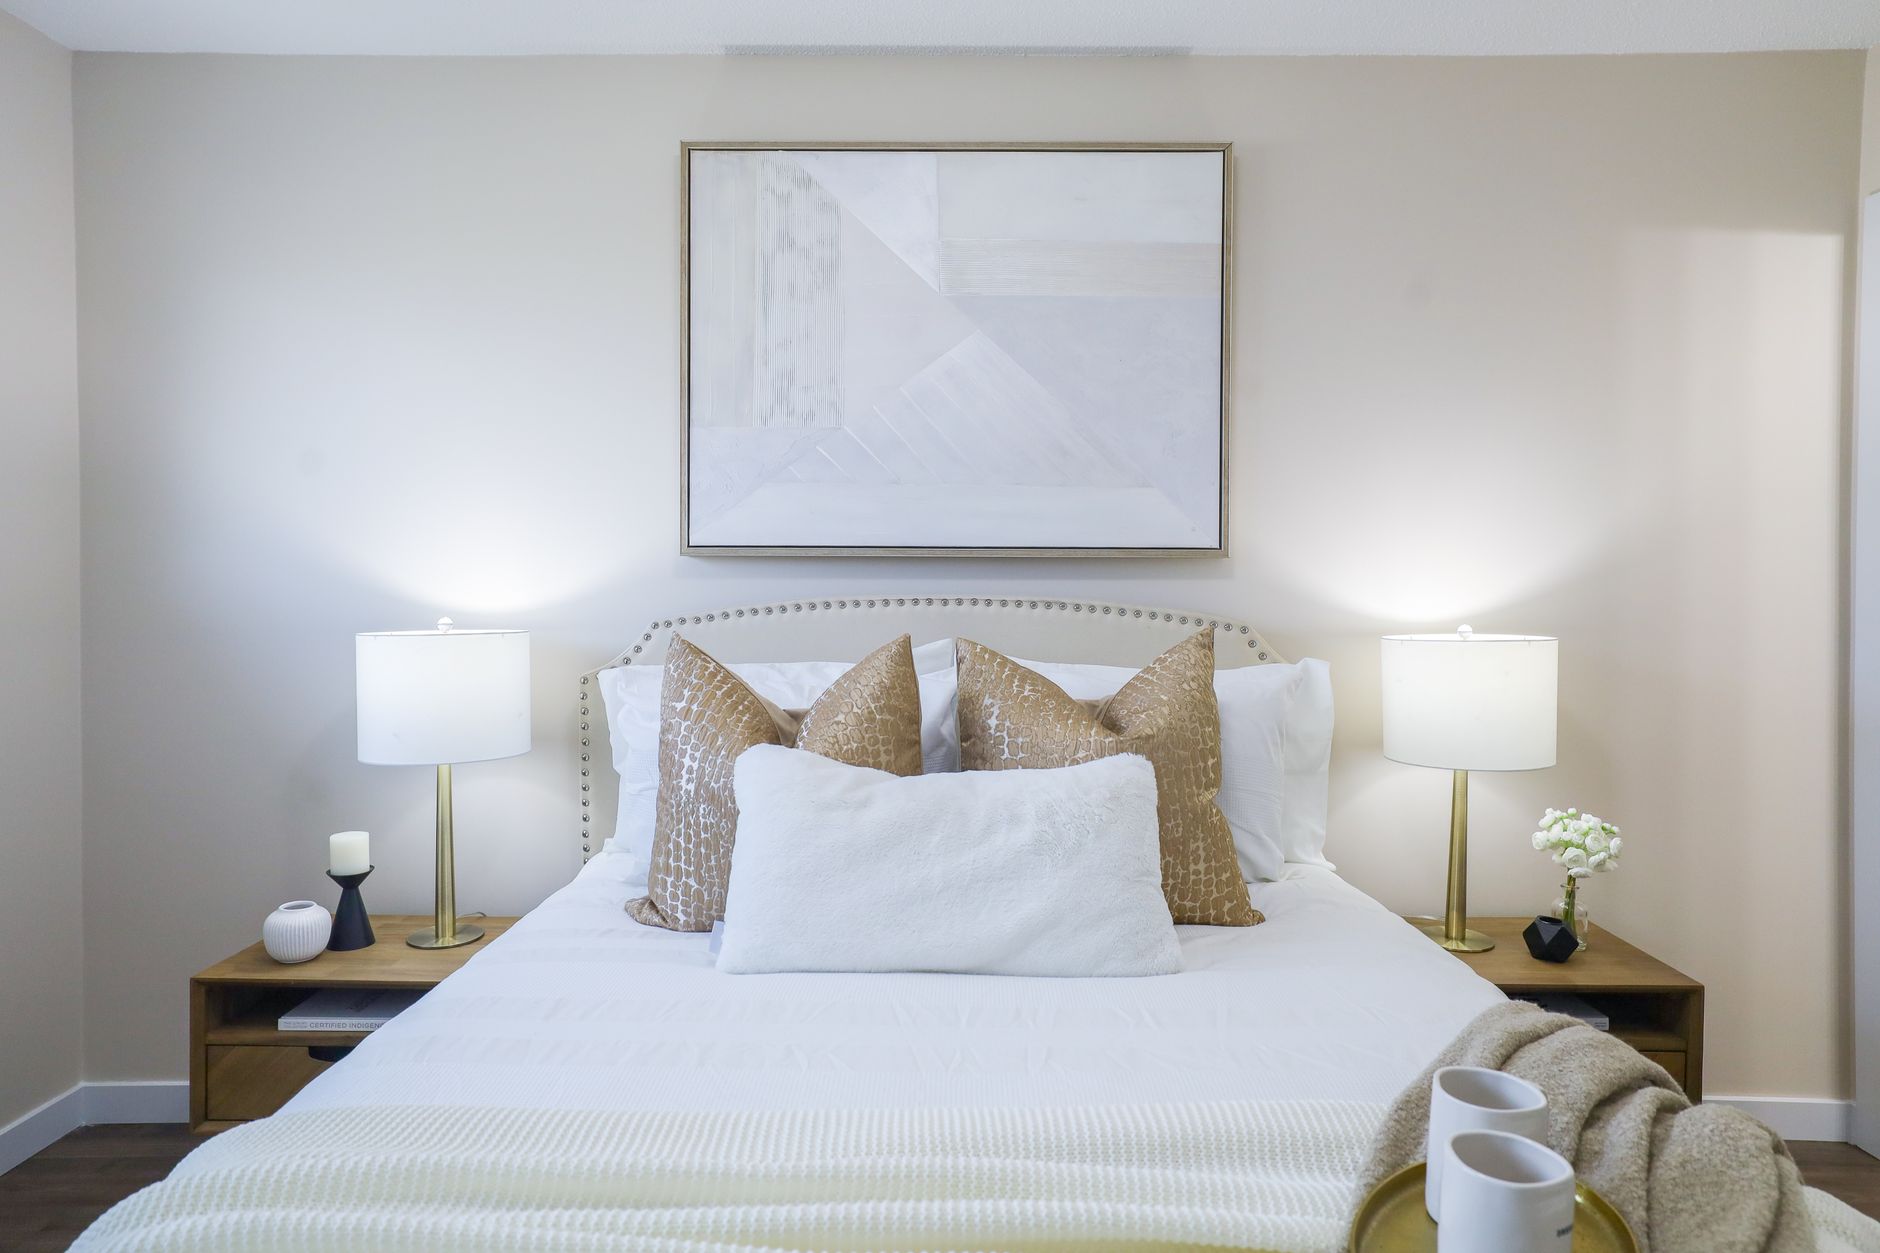
Bedroom: Coziness and Style
When photographing a bedroom, it’s essential to create an atmosphere of coziness and comfort. Ensure the bed is neatly made, and accessories like pillows and night lamps add charm. Light streaming through the window, aided by a lamp reflected off the ceiling, will help create a warm ambiance. Remember, the bedroom should suggest relaxation and functionality.
Bathroom: Pragmatism and Cleanliness
The bathroom is a place where cleanliness and pragmatism are particularly important. Ensure taps are dry and surfaces are streak-free. Avoid showing your reflection in mirrors—position the camera slightly to the side or adjust the angle. Natural light combined with spotlights near the mirror will emphasize the whiteness of the tiles and create a feeling of freshness.
Living Room Photography
The living room is the heart of the home and should be presented in the best light. Arrange decorative pillows on the sofa and place a vase of flowers on the table. The lighting should be warm, achieved by reflecting the light from lamps off the ceiling. By photographing during daylight hours, you capture natural light, which adds life to the space. Ensure to showcase key elements that draw the eye.
External Photos During Blue Hour
External photos are best taken during the so-called blue hour—shortly after sunset when the light naturally turns bluish. During this time, internal lights add a warm glow to the interior, giving the property an upscale appearance. Remember to turn on all light sources, and ensure your visual scenario is carefully planned. The view of such a lit home attracts the attention of potential buyers.
Post-Production as Key to Perfection
Post-production allows you to bring out the full potential of the captured frames. In Lightroom, correct perspective using the Transform option, utilizing Auto, and then fine-tuning manually. You can whiten walls by reducing yellow saturation in the HSL panel. An added bonus will be enhancing the colors of the sky visible through the windows, which boosts the appeal of your photos. When exporting photos, maintain a resolution of 3000 px, suitable for posting on portals like MLS and Otodom.
How Picvelo Can Help
Picvelo offers essential tools for interior photographers. Our client galleries allow you to present your work attractively, and watermarks protect your copyrights. The system also facilitates managing print sales and delivering photos to clients. Check out our pricing to fully harness the potential of interior photography.
Summary
In summary, professional interior photography is a key element in selling properties. With the right equipment, techniques, and post-production, you can significantly enhance the value of the showcased space. Remember, well-executed photos can catch the eye of potential buyers and facilitate transactions. Consider using tools like Picvelo to elevate the quality and workflow of your work.
FAQ
What lens should I choose for interior photography?
An ideal choice would be a wide-angle lens with a focal length of 14-24 mm or 16-35 mm. This will allow you to capture a larger area of the interior and create a sense of spaciousness.
Should I use a tripod for interior photography?
Yes, a tripod is essential to maintain the stability of your shots and allow longer exposure times, especially in low interior light conditions.
How do I light the interior for photography?
It’s good to use natural daylight while also utilizing a lamp reflected off the ceiling to evenly fill shadows in the room.
Is it worth using HDR techniques?
Yes, HDR, or combining several images with different exposures, helps achieve evenly lit shots, especially when the external light is much brighter than the interior.
What are the basic composition rules in interior photography?
Show 1-2 walls, not all three; maintain horizontal lines of the walls, and the camera should be at a height of 120-130 cm for a natural perspective.
How do I prepare a bathroom for photography?
Ensure cleanliness, dry the taps, avoid reflections in mirrors, and combine natural and artificial light for a fresh look.