
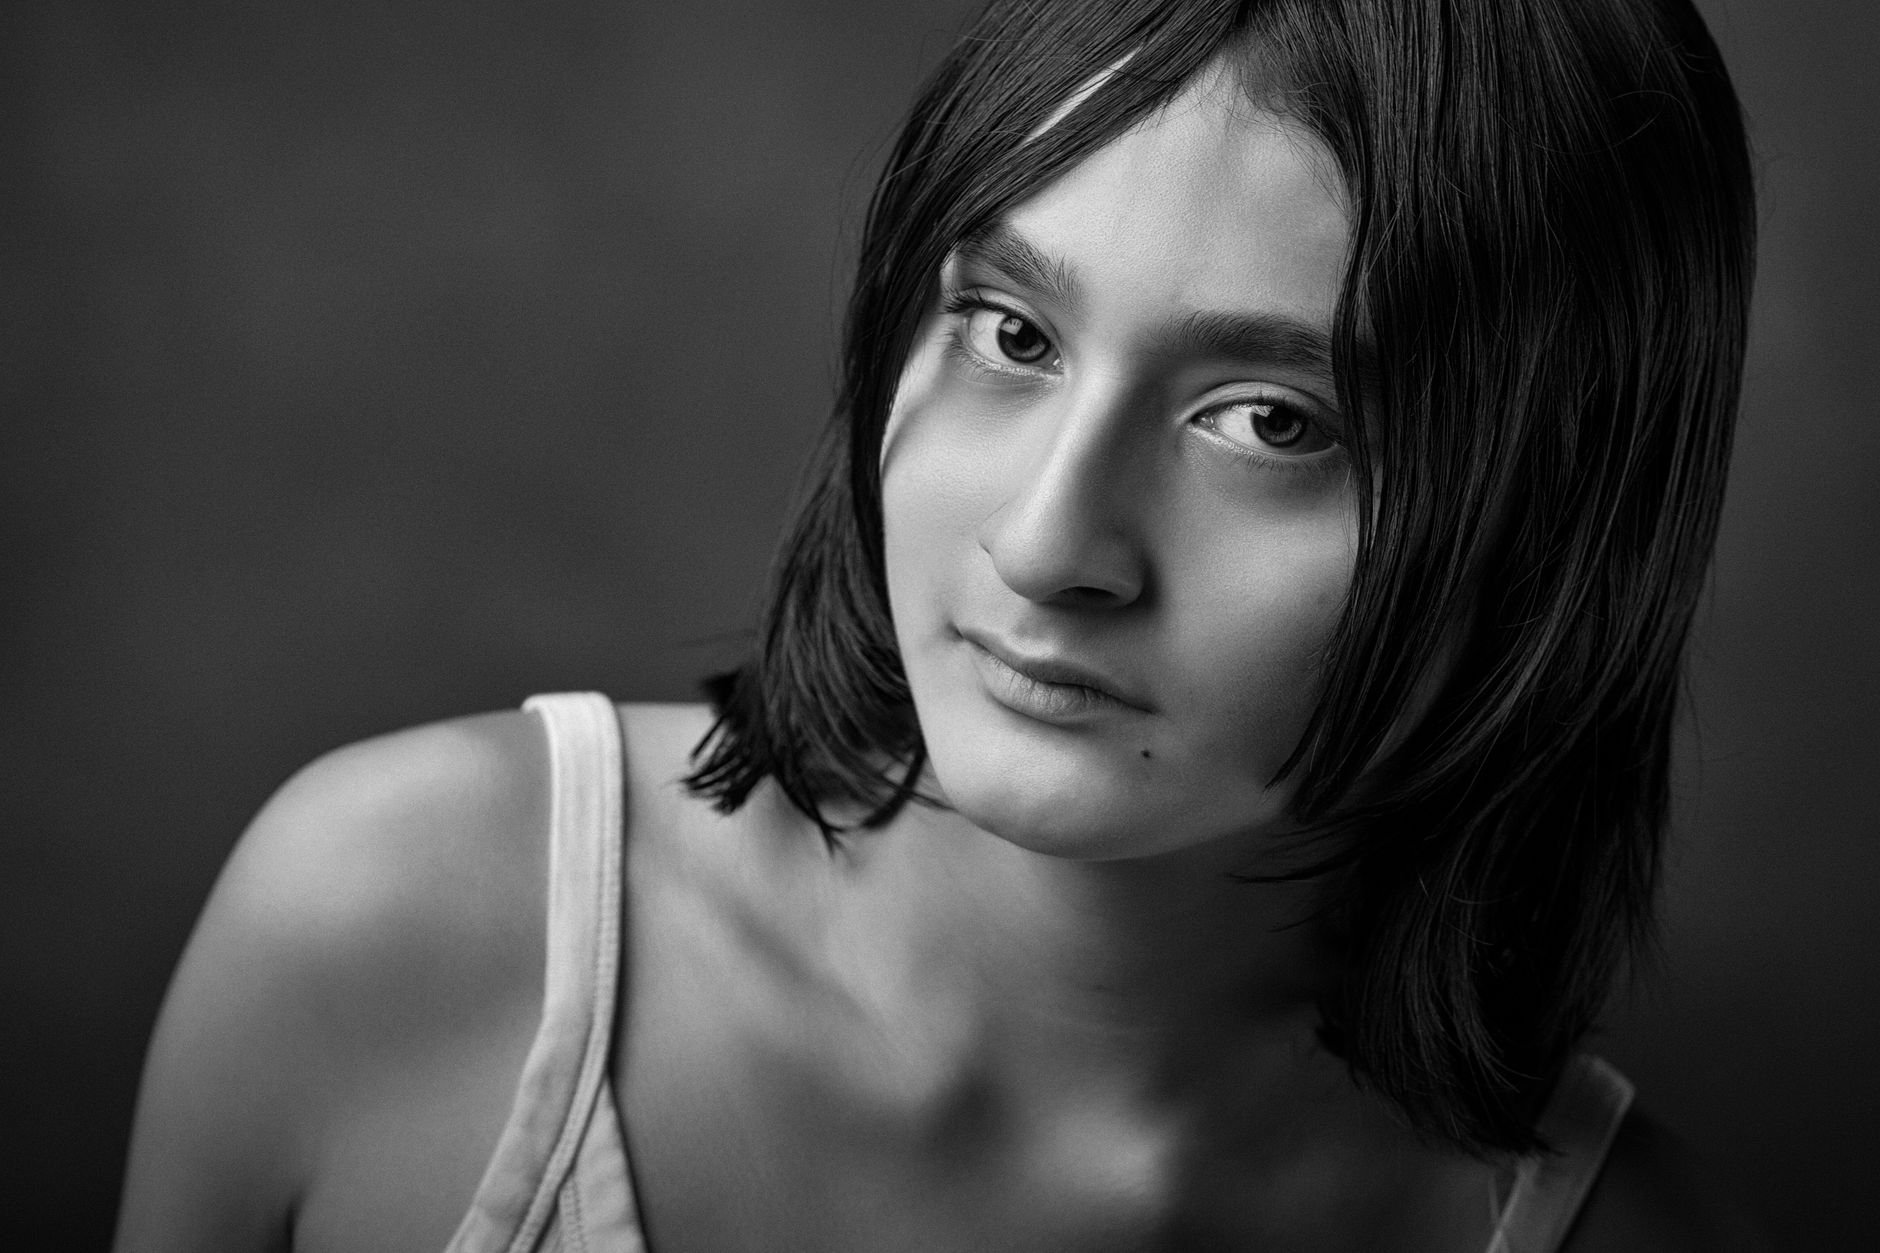
Skin retouching is a key element in portrait photography that can transform an ordinary photo into a perfect work of art. With advanced tools like Adobe Lightroom and Photoshop, photographers have access to techniques that allow for subtle corrections as well as comprehensive editing of demanding shots. In this article, we will explore how to use these programs to achieve professional effects.
Basics of Skin Retouching in Lightroom
Adobe Lightroom is an ideal choice for photographers looking to make quick and subtle adjustments to their images. Start with the Detail panel, which allows for fine-tuning the sharpness of the picture. Setting the sharpening to around 30 with a mask of 60 smooths the skin perfectly without losing details. Another important tool is the Texture slider, which at around -15 gently softens the skin surface while keeping the pores visible. The HSL panel helps brighten the complexion, especially by increasing the luminance in the orange shades. For more precise corrections, you can use the Adjustment Brush to retouch selected areas, reducing the Texture and Clarity sliders.
Correcting Individual Imperfections
Lightroom also offers the Spot Removal tool in Heal mode, perfect for removing small imperfections. Locate blemishes on the skin, like pimples or small spots, and use the Spot Removal tool for targeted corrections. In Heal mode, the program intelligently selects the adjacent skin area, creating a natural correction. It's also important to use the right scale for the tool—not too big to avoid interfering with neighboring parts of the image. This approach allows for quick removal of minor flaws while maintaining the authentic look of the portrait.
Transition to Advanced Techniques in Photoshop
When basic editing in Lightroom does not yield sufficient results, it's time to reach for the more powerful arsenal offered by Photoshop. This program is ideal for more advanced retouching, such as frequency separation. This technique allows you to edit the texture and color of the skin separately, leading to more precise corrections. The preparation is just a few steps: create two copies of your layer, apply Gaussian Blur of 5-10 pixels to the lower one, then define the upper layer using the Apply Image function with options set to subtract, scale 2, offset 128, and change the overall mode to Linear Light.

Frequency Separation: Technique Details
Frequency separation divides the image into two parts: texture and color. The low-frequency layer contains information about the color and tonality of the image, allowing for skin color correction with tools like the Mixer Brush. Meanwhile, the high-frequency layer stores texture details, such as pores, which can be delicately corrected using the Healing Brush or Clone Stamp Tool. Remember, the main goal is to maintain skin authenticity—excessive smoothing will strip the photo of its naturalness. Limit corrections to unsightly color spots or overly visible pores.
Dodge & Burn: Shaping with Light
Dodge & Burn is a light modeling technique often used in portrait retouching. To use it, create a new layer filled with gray (50% gray) and set it to Soft Light mode. With the Dodge Tool set to about 5% exposure, you can gently brighten highlights on the face, such as cheekbones. The Burn Tool, also set to 5% exposure, deepens the shadows, adding depth to the image. With these actions, you create an illusion of dimensionality, emphasizing the natural shapes of the face.
Maintaining a Natural Look
When retouching photos, especially portraits, it's important to remember to maintain a natural appearance. Overly smoothing skin leads to a plastic doll effect, distorting the authenticity of the portrait. Therefore, it’s crucial to leave certain elements intact, such as natural pores, fine expression lines, or even some imperfections. Using techniques like frequency separation and dodge & burn, keep in mind the subtlety, aiming for an end result that still presents a realistic image.
Practical Tips for Working in Photoshop
When working in Photoshop, it's helpful to remember a few practical tips that will simplify the process and help achieve the desired results: 1. Work on a backup copy of the image so you can return to the original at any time. 2. Use adjustment layers—these allow you to experiment without destroying the original file. 3. Increase the resolution of the image to facilitate detailed work on the details. 4. Keyboard shortcuts, such as Ctrl+Z for undoing, streamline the editing process. Every step in Photoshop should be precisely planned and consciously executed.
Time for Retouching: How Long Does It Take?
The retouching process should not be too time-consuming, especially for everyday portrait sessions. With proper time management, good retouching for a single photo should not take longer than 15-30 minutes. Lightroom allows for quick corrections, while Photoshop is mainly used for more demanding shots, such as magazine covers. The key is to make effective use of the tools to streamline the process and achieve professional results without spending hours on a single image.
How Picvelo Can Help
How can Picvelo assist in skin retouching? Our platform simplifies organizing photos in a client's galleries, automatic selection, and protecting images by adding watermarks. This allows photographers to focus on perfecting their work while leaving organizational matters in the hands of Picvelo.
Summary
In summary, skin retouching in both Lightroom and Photoshop allows for achieving professional results when skillfully using the available tools. Balancing subtlety and detail is key to success. Maintain naturalness, experiment, and refine your skills so that each portrait reflects the beauty of the photographed individuals.
FAQ
What is frequency separation?
Frequency separation is a retouching technique that allows for separate editing of colors and textures in an image. It enables precise corrections of blemishes and skin texture without losing details, making it ideal for advanced portrait retouching.
What settings in Lightroom improve skin?
In Lightroom, setting the sharpening to around 30 with a mask of 60 smooths the skin without losing details. The Texture slider at -15 softens the skin, while the HSL panel can be used to brighten the color (orange luminance +10). The Adjustment Brush can be used for detailed retouches with Texture -30 and Clarity -20.
How to avoid the plastic skin effect?
Avoiding the plastic skin effect involves maintaining natural pores and expression lines during retouching. It's important not to overdo the smoothing and to only retouch visible imperfections. The frequency separation method and moderation in using smoothing tools are key.
Is Photoshop essential for portrait retouching?
Photoshop is not essential for basic corrections that can be done in Lightroom. However, for more advanced retouching requiring frequency separation or dodge & burn, Photoshop offers tools and precision that are lacking in Lightroom.
What retouching mistakes should I avoid?
The biggest mistakes include excessive skin smoothing, removing all details, and improper use of tools. It's important to work on a backup copy, control the degree of smoothing, and exercise moderation to maintain the naturalness of the portrait. Also, retouching time should not be excessively prolonged.
Which retouching technique is faster: Lightroom or Photoshop?
Lightroom is faster for basic corrections such as color correction and removing small imperfections. Photoshop, on the other hand, is more time-consuming but offers advanced retouching techniques like frequency separation, which are more precise and versatile.