
Off-camera lighting is one of the most exciting ways to unleash creativity in photography. Removing the light source from the camera allows control over shadow and light direction, opening up new possibilities in portraits. In this article, we will show you how to set up a single flash. We will focus on the essential equipment, basic settings, and the most common light modifiers.
Basic Equipment for Off-Camera Flash
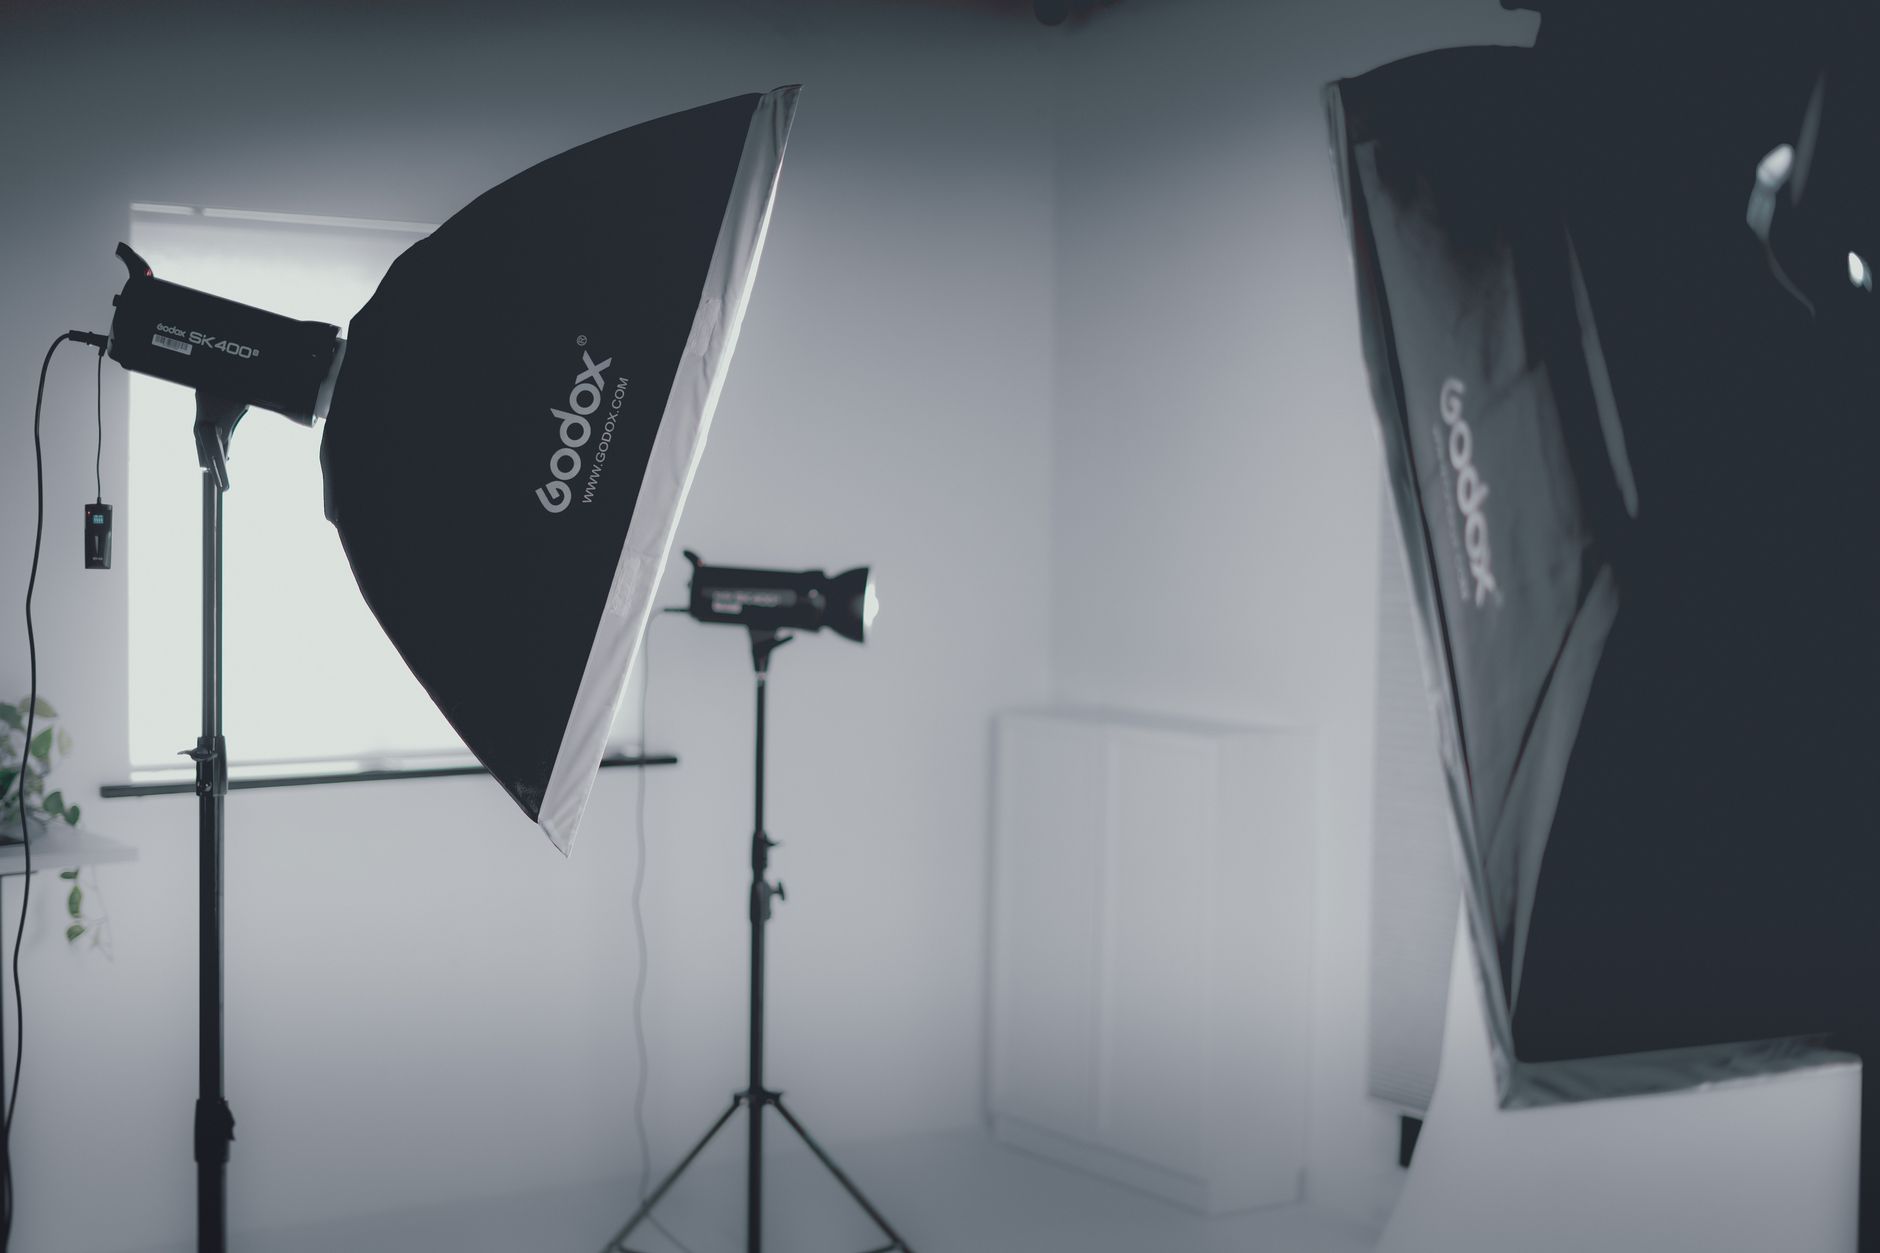
Starting your adventure with off-camera flash requires a few essential items. Firstly, a flash that can be mounted off the camera. Modern models often feature TTL and Manual modes, giving you greater control over exposure. You will also need a wireless trigger that synchronizes the flash with the camera shutter. Examples include the Godox X2T, Profoto Connect, or Canon ST-E10. It's important to choose a system compatible with your camera.
Differences Between TTL and Manual Mode
The TTL (Through The Lens) mode automatically adjusts the flash power, accounting for ambient light and camera settings. It's ideal for beginners, but it doesn't always offer full control. The Manual mode allows you to set the flash power according to your needs. Beginners can start with a manual power setting of 1/8, which often proves to be an effective starting point, and adjust the power depending on the distance of the light from the subject.
Using HSS in Photography
HSS (High-Speed Sync) is a feature that allows synchronization of the flash with short shutter speeds, which is useful in bright sunlight. It enables the use of a wide aperture while maintaining a shallow depth of field without risking overexposure. With HSS, you are not limited to the typical 1/200 second but can use speeds as short as 1/8000 second. This is crucial when working in dynamic lighting conditions.
The Importance of Flash Power and Its Parameters
Understanding the power of the flash is crucial. Power is measured in watt-seconds (W·s) or by Guide Number. A higher GN indicates a more powerful flash. For beginners, a flash with power ranging from 200-300 W·s is sufficient for most studio applications. It's also important to consider power sources — AA batteries are widely available, but lights with lithium-ion batteries offer longer life and shorter charging times.
Camera and Flash Settings
Start by setting the camera to manual mode with a shutter speed of about 1/200 second, aperture of f/5.6, and ISO 200. The flash should be set to manual power at 1/8. With this setup, you achieve good initial lighting conditions which can be adjusted by altering the flash power or its distance from the subject. The first test shot allows you to evaluate the histogram, enabling quick corrections.
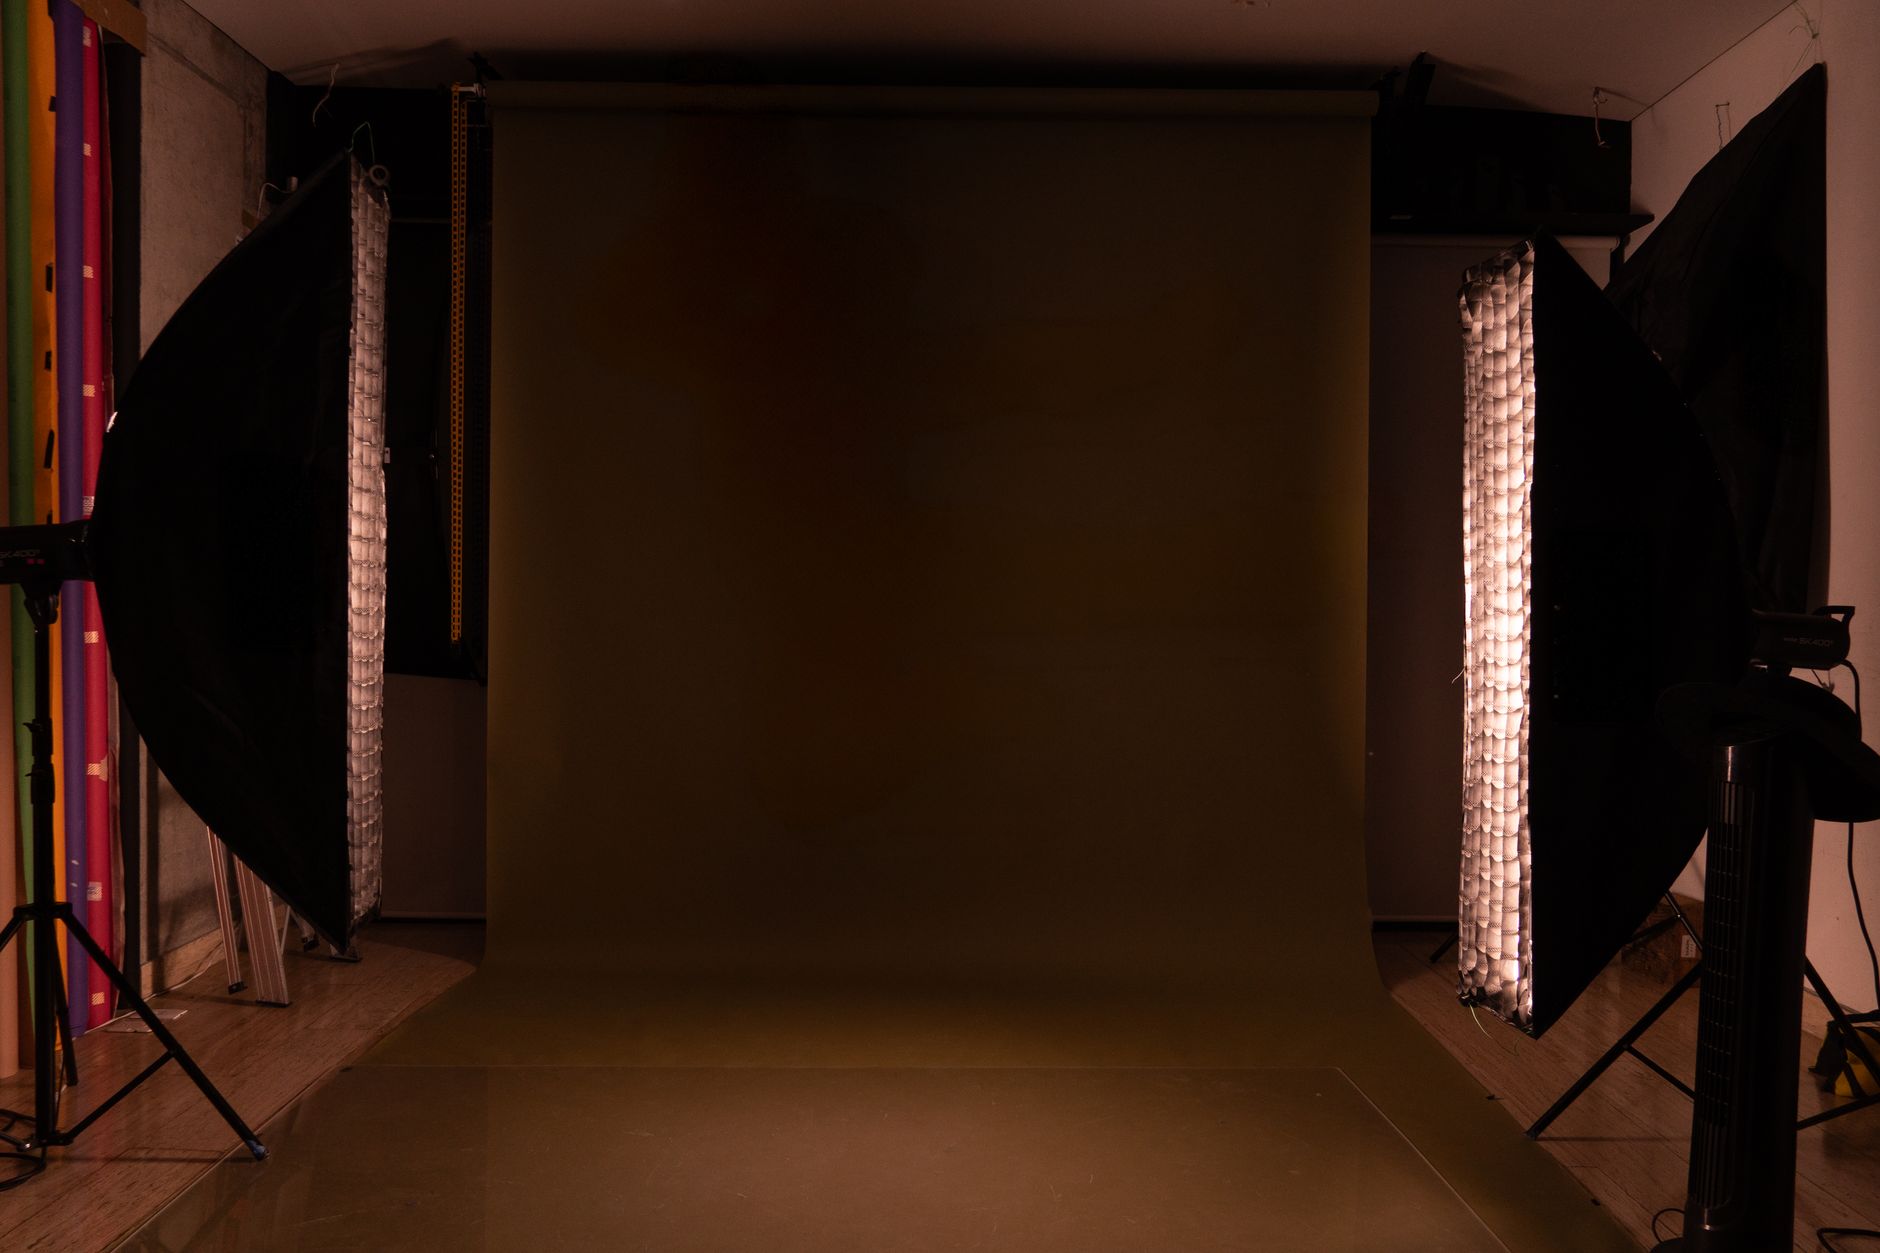
Basic Lighting Setup: Light at a 45° Angle
A typical lighting setup for one light involves positioning the flash at a 45° angle from the model, slightly above head level. Using a modifier like a 60-80 cm softbox or umbrella creates soft, diffused light. The background should be set to about two stops EV darker than the main light, giving the portrait natural depth and separation from the background.
Different Light Modifiers and Their Effects
Light modifiers, such as an 80 cm white umbrella, a 90 cm octagonal softbox, or a 55 cm beauty dish, provide various effects. The umbrella offers wide, soft light, ideal for portraits. The softbox delivers more controlled light with a clear direction, useful for detailed portrait sessions. The beauty dish, on the other hand, creates contrastive lighting with distinct texture — great for more dramatic shots.
Testing and Fine-Tuning the Lighting
After the initial setup, it’s essential to take a series of test shots. The user should check the histogram to ensure that the lighting is even and no essential details are blown out. If the photos are too dark, the flash power can be increased or it can be brought closer to the subject. Making minor adjustments helps achieve the desired effect and a well-balanced frame.
How Picvelo Can Help
Picvelo makes working with off-camera flash easier by offering a platform for managing client galleries. With tools for photo selection and adding watermarks, you can effortlessly present, manage, and secure your images, streamlining the collaboration process with clients.
Summary
Mastering off-camera flash techniques significantly enhances portrait photography. By experimenting with settings and modifiers, you'll achieve unique effects. Sign up for the Picvelo newsletter to receive more tips!
FAQ
Is it worth using off-camera flash?
Yes, off-camera flash allows for creative control over lighting, which is beneficial in portraits and working in challenging lighting conditions.
What flash is best for beginners?
A flash with a power of 200-300 W·s and TTL and Manual functions is sufficient. It's worth considering models compatible with the system used in your camera.
Should I power the flash with AA batteries or a rechargeable battery?
Flashes with lithium-ion batteries offer longer working time and are more practical than AA batteries, especially during longer sessions.
What is TTL mode in flashes?
TTL mode automatically adjusts the flash power based on ambient light and camera settings, which simplifies photography in variable conditions.
What are the benefits of using HSS?
HSS allows using the flash at short shutter speeds, enabling shooting with a wide aperture without the risk of overexposure.
How high should I position the flash for portraits?
The flash should be slightly above the model's head, at a 45° angle relative to the camera axis, which provides natural lighting.