Panoramic photography allows you to go beyond the limitations of a single frame and capture the full beauty of a landscape. By combining several images, you can create photos with incredible width and detail that surpass the capabilities of the most advanced wide-angle lenses. In this article, we'll show you how to create your own panoramas, from equipment setup to final stitching in editing programs.
Basic Principles of Photographing Panoramas
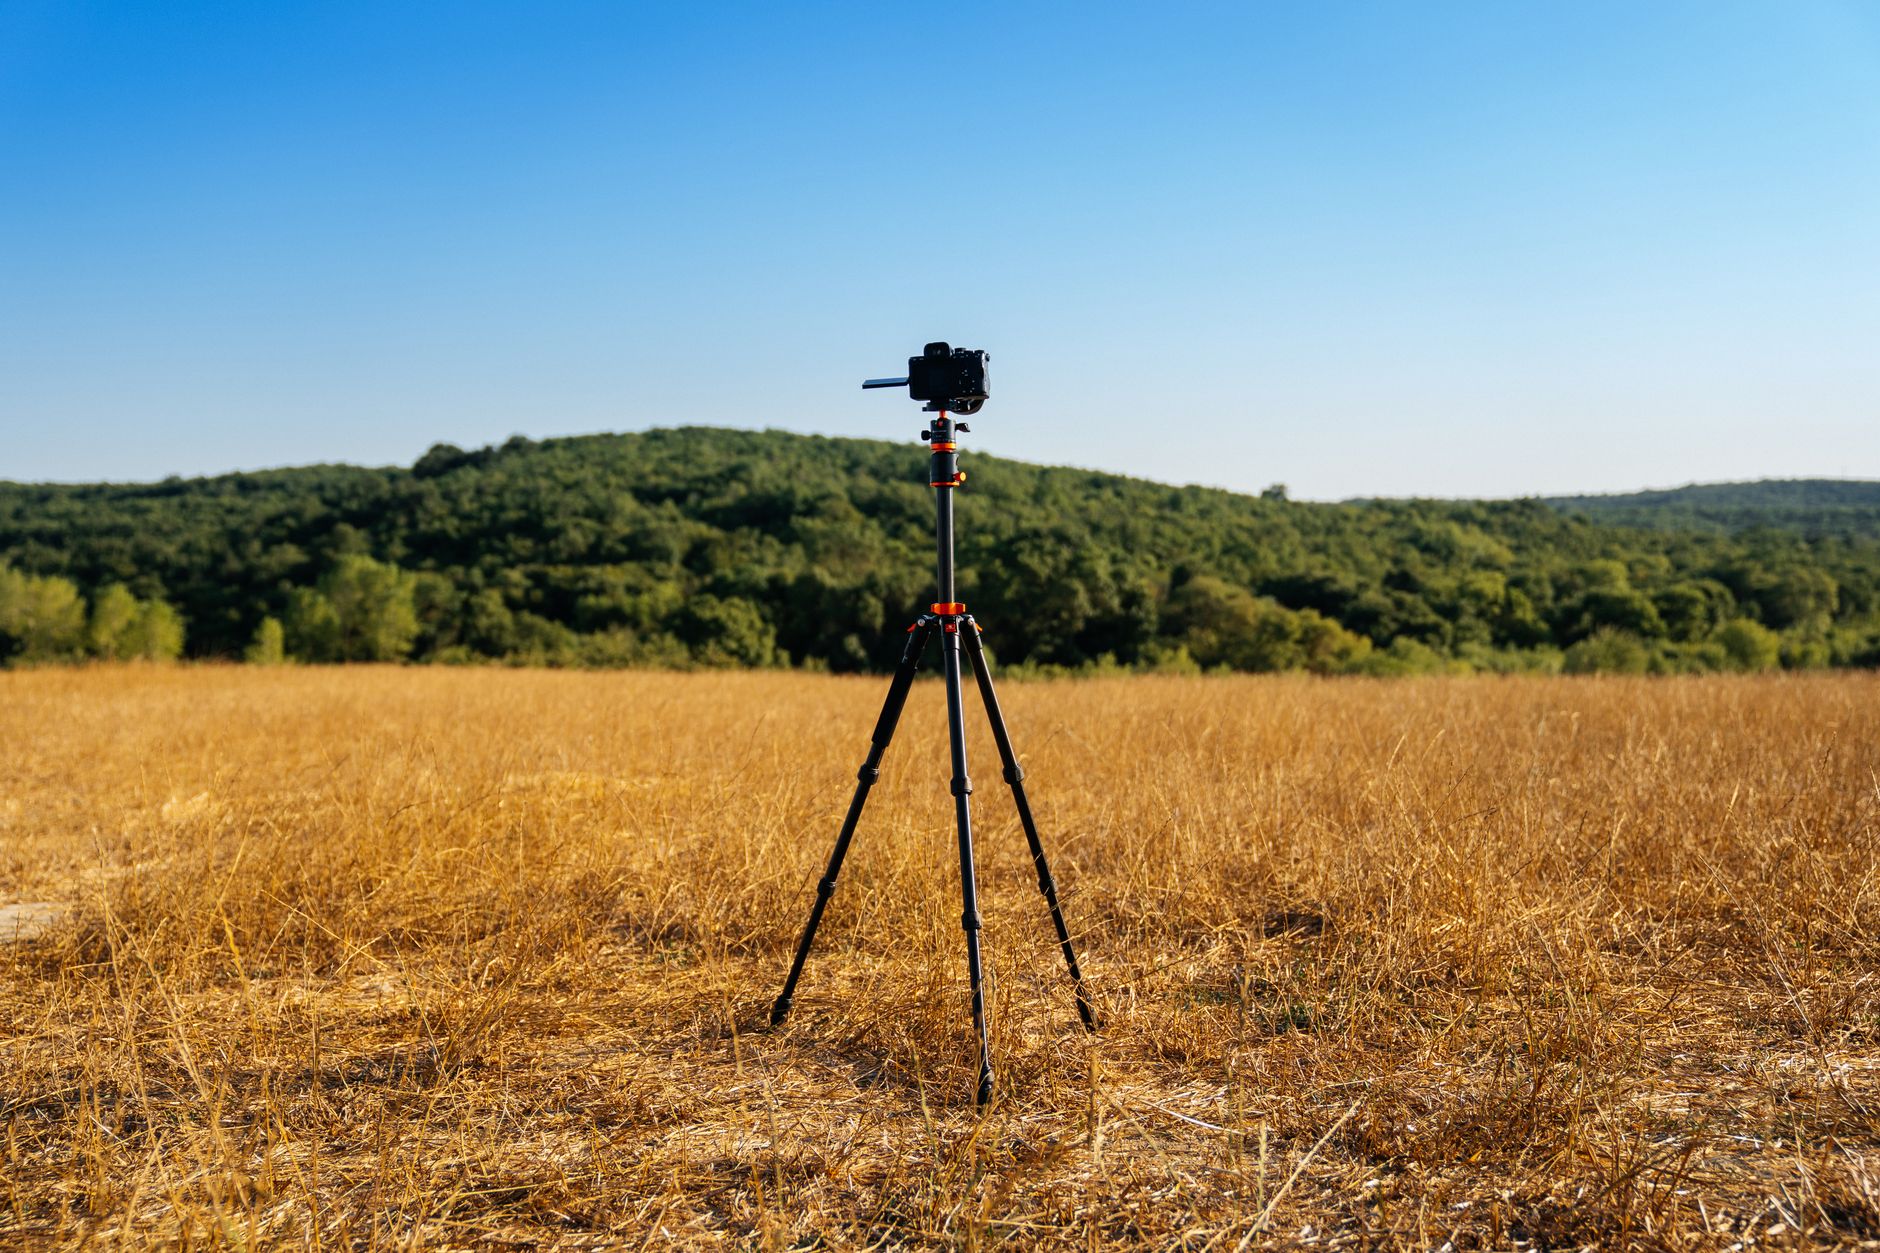
The key to a successful panorama is capturing the component shots correctly. Ensure you are using a tripod and a panoramic head for stability and precision. Frame your images vertically to increase vertical resolution. Maintain a 30% overlap between shots so that the software can merge the images accurately. It's also crucial that all shots have the same exposure settings, white balance, and focus.
Choosing the Right Camera and Equipment Settings
For panoramic shots, it is recommended to use manual mode on your camera. Use exposure lock (AE) and manual focus to ensure all shots are technically consistent. Consider purchasing a tripod with a level and a panoramic head for better control over camera movement and to avoid errors from shifts between shots. Using a 35mm lens on a 24 MP sensor at 8 shots provides high quality and details.
Preparation for On-Site Photography
Before your panoramic session, choose the right time of day — sunrises and sunsets provide the most attractive light. Identify a strong focal point in the landscape that will be the leading element of your panorama. Ensure you have a sturdy tripod and panoramic head, and clearly mark the start and end of the photo sequence.
The Process of Stitching Panoramic Photos in Lightroom
Adobe Lightroom is a popular software for creating panoramas. After importing your photos, select all of them, go to the Photo Merge option, and choose Panorama. Select the appropriate projection type: Spherical for 360°, Cylindrical for wider landscape panoramas, and Perspective for urban landscapes needing straight lines. It's worth using the Boundary Warp feature to retain all pixels from the image, eliminating the need for cropping.
Alternative Panorama Creation Software
In addition to Lightroom, it's helpful to know other panorama creation programs. PTGui is a professional tool ideal for advanced projects like 360° and costs around 150 EUR. Hugin, as a free open-source program, is a great alternative for less advanced users. Meanwhile, Photoshop offers the Automate Photomerge option for solidly stitching typical landscapes.
Common Mistakes When Photographing Panoramas
Panoramic photography requires precision. One issue is the difference in white balance between shots, which can cause visible bands in the merged image. It's essential to always maintain at least a 30% overlap between shots; otherwise, you may end up with white, empty areas. Moving objects like people or cars can lead to ghosting effects that will require editing.
Benefits of Panoramic Photography and Its Application
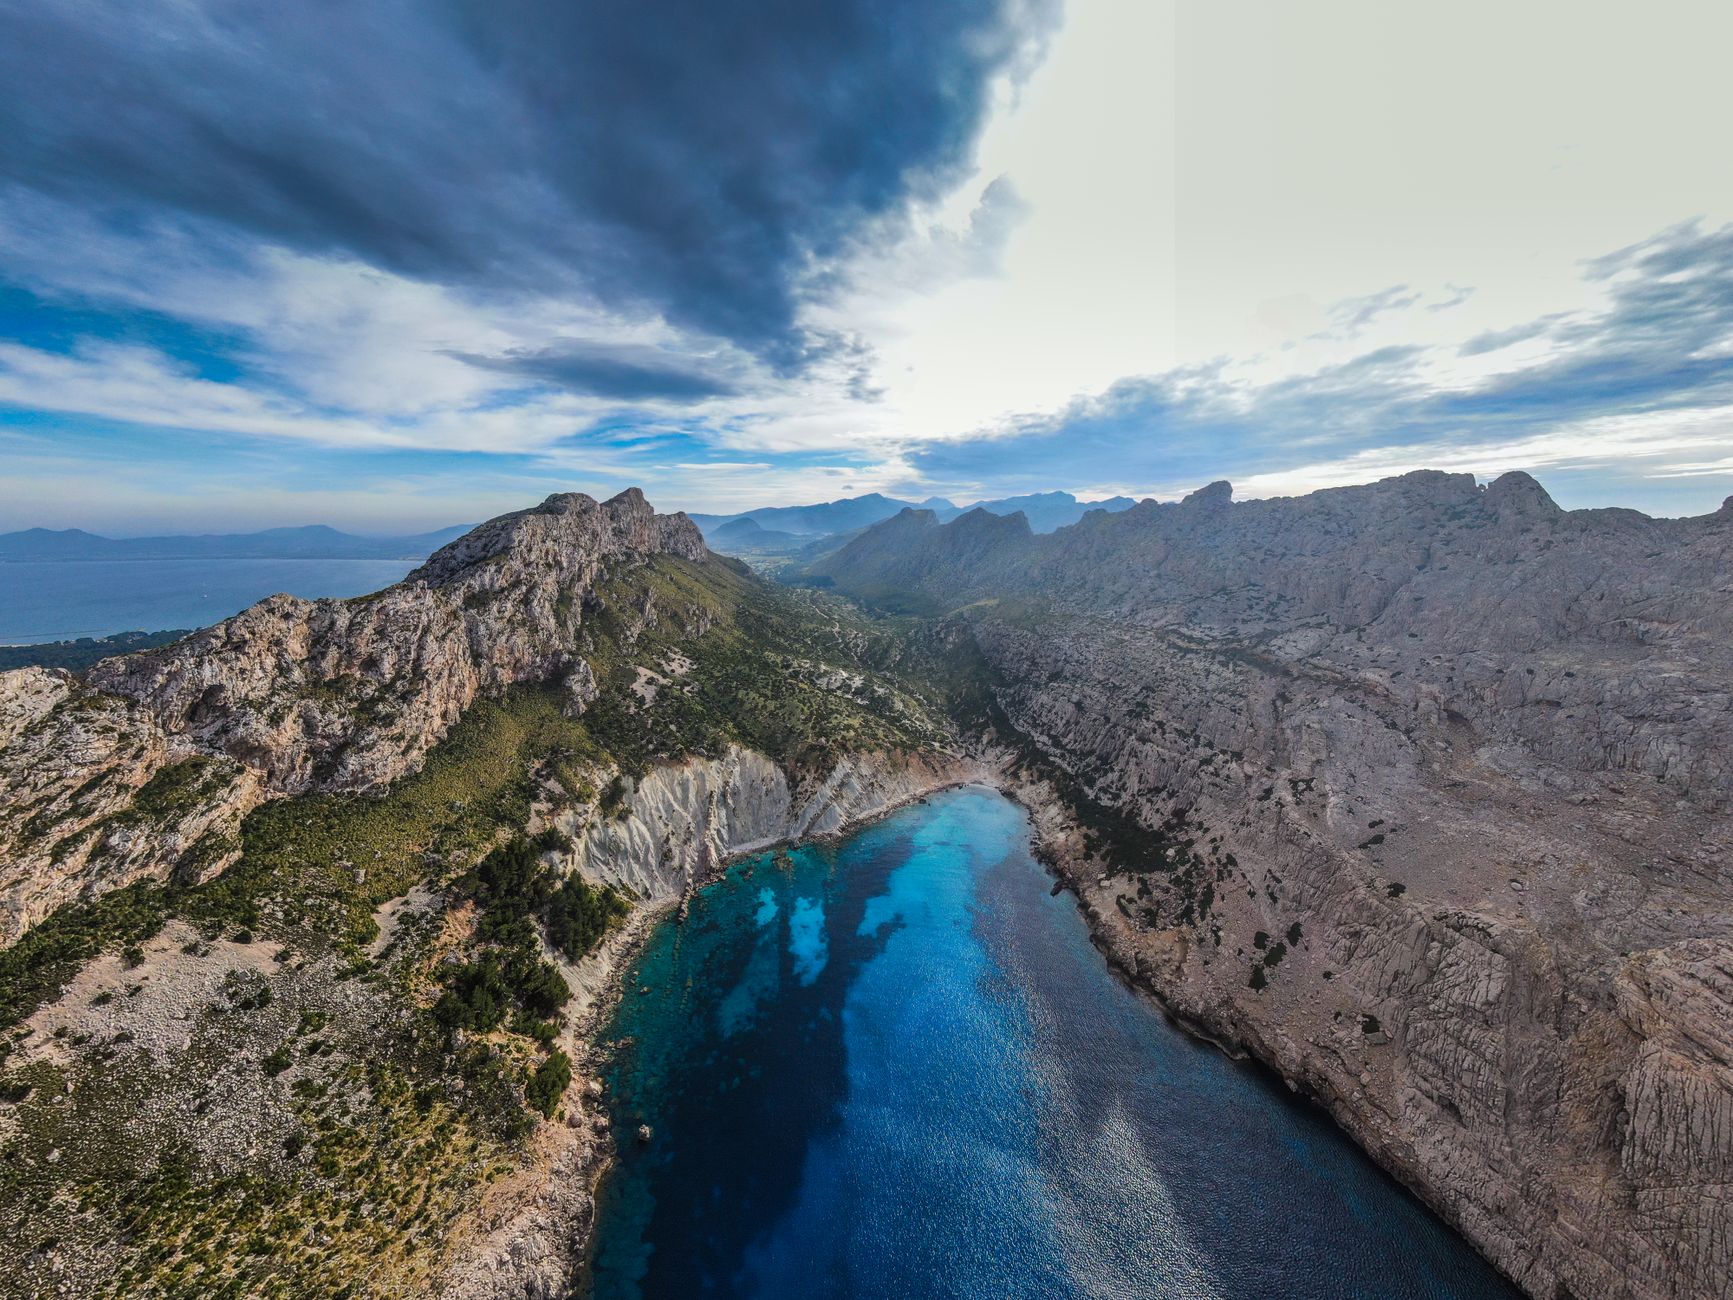
Panoramas allow you to capture the full majesty of a landscape that a single photo cannot achieve. They enable creating high resolutions, giving you more flexibility in post-production and preparing prints with high detail requirements. This makes it an ideal solution for landscape and architecture photographers or any situation where a wide frame is necessary to capture the entire beauty of the scenery.
Practical Tips for a Successful Panorama Assembly
To ensure a smooth process, plan your shot sequence carefully. Where possible, take photos in areas with even lighting to avoid exposure issues. Before you start photographing, it’s crucial to correctly calibrate the nodal point for close objects, keeping perspective lines straight. Avoid exposure bracketing to ensure all shots are consistent in brightness and color.
How Picvelo Can Help
Picvelo is the perfect tool for showcasing your panoramas. You can create client galleries that allow for seamless submission and selection of the best shots by clients. Watermarking features will protect your work from unauthorized use.
Summary
Utilizing panoramic photography allows for demands for landscapes that impress with detail and wide framing. With the right techniques and stitching software, your images will be an unforgettable expression of photographic art.
FAQ
Do I need a special panoramic head?
A panoramic head is not mandatory, but it greatly facilitates achieving smoother transitions between shots and can prevent shifts, which is key to creating a great panorama.
What lenses are best for panoramas?
Prime lenses ranging from 24 to 50 mm are highly recommended, offering a good balance between angle width and detail quality. Prime lenses often provide better image quality.
Does creating a panorama take a lot of time?
The process of creating a panorama, from shooting to finishing the editing, can take anywhere from a few minutes to an hour. Stitching images in software like Lightroom takes about 1-2 minutes for 8 shots.
What are the most common mistakes with panoramas?
Common mistakes include varying exposure conditions between shots, lack of overlaps, and improper nodal point positioning, leading to stitching irregularities.
Can I use a smartphone for creating panoramas?
Smartphones are increasingly capable of handling panoramas, thanks to built-in panoramic modes. However, for professional results, it is best to use a camera with manual settings.
What output file format is best for editing panoramas?
It's best to choose formats like TIFF or PSD, which maintain a large amount of image information. These formats ensure high quality and flexibility for further editing.