
Panoramic photography captivates with its wealth of details and broad perspectives. Many photographers attempt to convey the epic landscape using the panoramic stitch method. Stitching photos allows for wide shots that amaze with their spaciousness. If you've ever wondered how to effectively combine photos into panoramas, this article will provide answers and useful tips.
What is panoramic stitch?
Panoramic stitch, or stitching panoramic photos, is a technique that involves combining several photographs into one wide panorama. By using suitable software, it is possible to achieve a picture that exceeds the capabilities of a standard lens. In practice, a photographer takes a series of overlapping images that are then merged together. This process can be implemented using various applications, but Adobe Photoshop, Lightroom, or panoramic software are the most commonly used.
How to prepare for creating panoramas?
Preparing to create panoramas starts with choosing the right location and scene. The best results are achieved in open spaces with clear, stable lighting. Using a tripod is beneficial for maintaining camera stability. It's also important to remember settings such as a low ISO value and a medium aperture, like f/8, to ensure a greater depth of field. Shooting in RAW format is advisable for more flexibility in post-production.
What camera settings are the most important?
One of the key aspects in capturing panoramic photos is adjusting the camera settings properly. The most important settings are shutter speed, white balance, and ISO. It is recommended to use manual mode so that each photo has identical parameters. White balance should be set manually to ensure color consistency. ISO should be kept as low as possible (e.g., 100) to reduce noise. Shutter speed should be adjusted according to lighting conditions, but it’s best to avoid very short exposures to retain details.
The process of stitching photos in software
In the photo stitching process, the appropriate configuration of the software is key. In programs like Adobe Lightroom or Photoshop, the stitching procedure starts with importing the photos. Then, we select the 'Merge to Panorama' option. The software automatically compares and aligns the photos according to perspective, correcting any distortions. We can also manually improve the resultant output by adjusting lines or horizon levels. It is essential to experiment with settings like geometry or color correction to achieve a satisfying effect.
Common mistakes in panoramic stitch
When creating panoramas, it is wise to avoid several common mistakes. The first is uneven camera alignment, which can lead to shifts and distortions in the image. Using a tripod with a level can mitigate this problem. Another mistake is discrepancies in exposure between successive photos, which causes unpleasant lighting effects. It is recommended to use manual mode on the camera. Lastly, misalignment of vertical lines in the frame also ruins the final effect. Maintaining level and horizon requires patience and precision.
Software for panoramic stitch
There are many tools available for creating panoramas. Adobe Lightroom and Photoshop are popular due to their intuitiveness and high-quality results. For more advanced users, tools like PTGui or Hugin can be ideal as they offer extensive customization options and greater control over the stitching process. Both programs are excellent for working with high-resolution images, which is crucial for creating exceptionally detailed panoramas.
Practical applications of panoramas
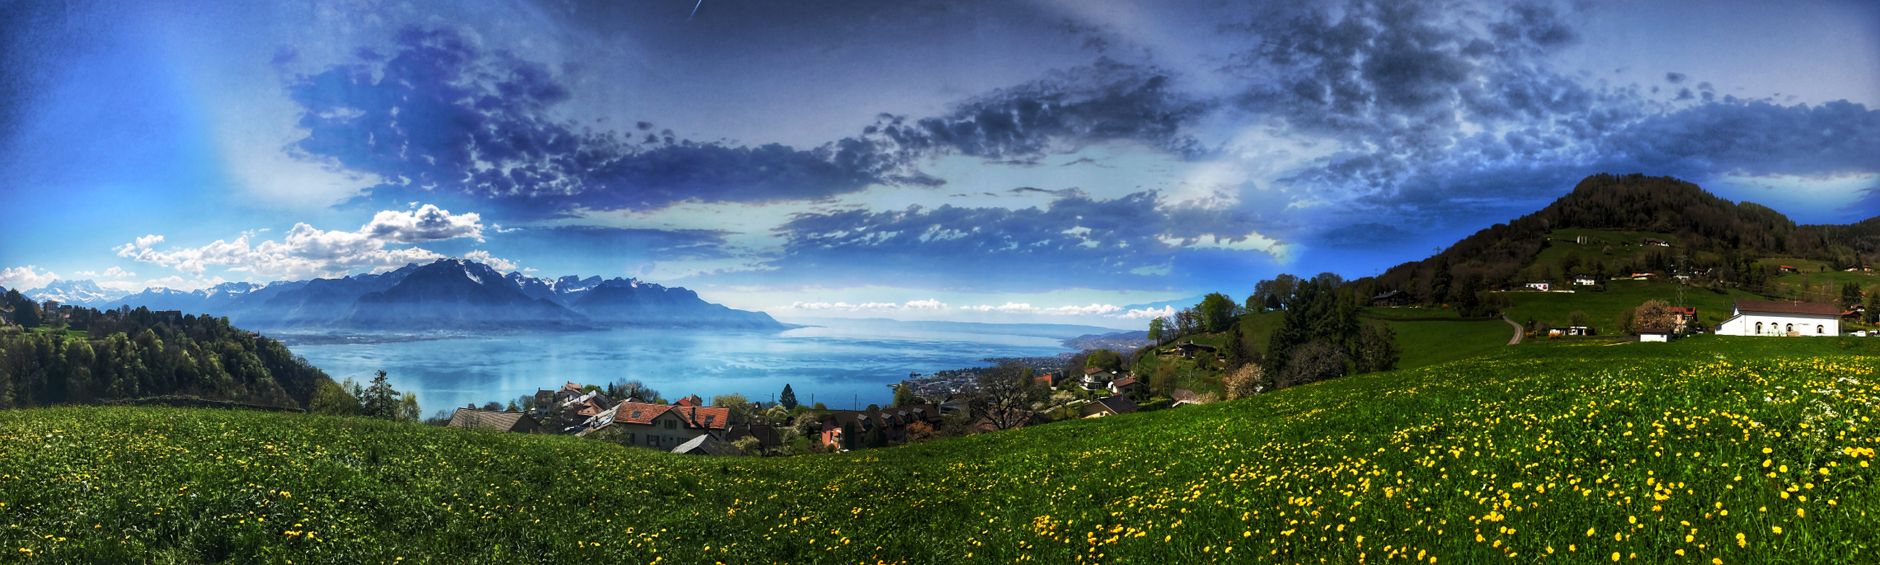
Panoramic photographs have applications in various fields. In tourism and landscape photography, they convey the beauty of the surroundings in full scale. They are also useful in architectural photography, allowing for the capture of an entire building structure in a way that is unattainable with standard lenses. In advertising or creating virtual tours, panoramas provide realistic spatial impressions and serve as an effective tool for attracting audience attention.
Benefits and challenges of panoramic photography
Panoramic photography offers remarkable artistic possibilities but also comes with challenges. The main advantage is the ability to create photos of impressive width and detail that extend beyond the range of standard frames. However, it requires greater precision and patience, especially due to the need to maintain consistency between photos. An additional challenge is selecting the right software and equipment to achieve high-quality results.
How Picvelo Can Help
Picvelo can greatly facilitate the process of delivering panoramic photos to clients. Thanks to the client photo selection feature, photographers can create personalized client galleries, ensuring a smooth selection and sharing process. The service also allows the application of online watermarking to protect photos, further safeguarding work from unauthorized use.
Summary
Creating panoramic photos is an extraordinary journey that captures landscapes in their full glory. For the best results, it is worth applying the described techniques and tools. Prepare your equipment and explore the countless possibilities of panoramic photography. Discover more features for photographers at pricing.
FAQ
What is the best software for panoramic stitch?
The most commonly used tools include Adobe Photoshop, Lightroom, PTGui, and Hugin. Each has its advantages, and the choice depends on preferences and skills.
How to set up a camera for panoramic photography?
It is recommended to use a tripod and manual camera settings, including low ISO, stable white balance, and a medium aperture. Avoid very short exposure times.
Can panoramas be created without a tripod?
Technically it is possible, but a tripod significantly helps maintain stability and level of the camera, which is crucial for the quality of the panorama.
Why might photos in a panorama be blurry?
Blurriness can result from camera movement or poor settings of ISO and shutter speed. Using a tripod and correct settings addresses this issue.
What are the most common mistakes when stitching photos?
The most common mistakes are uneven camera alignment, exposure differences, and vertical distortions. It’s important to work on eliminating these.
Is every camera suitable for panoramic stitching?
Most cameras, including DSLRs and mirrorless ones, are suitable. It's important to be able to manually set parameters and work in RAW format.
Comments (0)
No comments yet. Be the first!